Posts

Do It Yourself Matala filter
Image
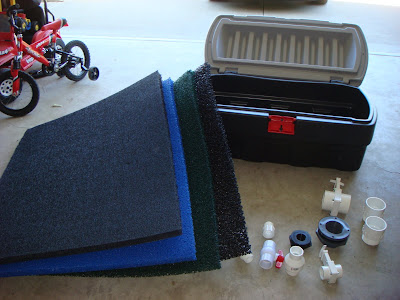
Here are the parts for my new mechanical filter. 4 sheets of matala filter, a rubbermaid truck box and various fittings. It took a day to put together and get working. This filter is now the first after the pump. It drains into a 40gal brute can full of plastic scrubbies and left-over matala bits. This filter will work for the next year, until I build some fiberglass boxes. On the left (inside the box), you see a flex hose. That's the water input. I put the hose on there so I can easily clean the filters with pond water and back flush the box by moving the end of the hose to the other side. If I need to drain the box to work on it, I just stick the end of the hose into the drain pipe on the right and open the drain plug. That way I can keep the rest of the filtration system running. All tucked away under the stairs. Next year, when we build the deck this will be hidden away.
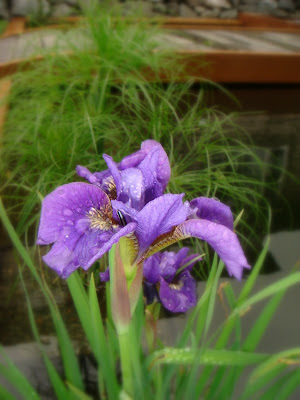
A Ray of Sunshine

Image
Despite a record cold June so far we still enjoy watching the pond plants bloom.

We have fish!

Image
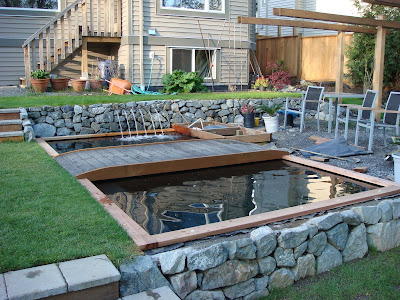
It's been a slow week pond-wise but the electical is all wired up. Kari is happy that she doesn't have to mow around an extension cord anymore. :) We picked up ten koi today from a local guy who had a good spawn 2 years ago. So far they're sticking together and exploring every corner of the pond. They play follow the leader. If one swims into the skimmer then the other nine follow suit. At least they all follow the first one out again a minute later. Three of the goldfish have decided to join the koi but they have to really hustle to keep up!

The skimmer is skimming

Image
What a beautiful day! Here's the skimmer (the square can). It works very well so far. I sanded and stained the cedar trim. I'm very happy with how it turned out.
Image
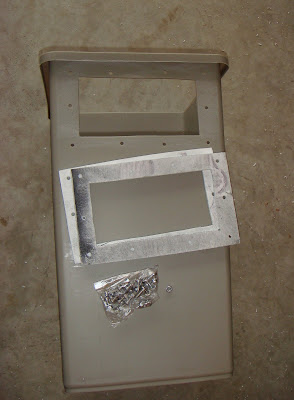
Here are the parts for the skimmer. I found a square rubbermaid heavy duty garbage can. I then cut two frames from 1/4" plastic and purchased enough stainless steel bolts for the job. I've got some work to do in preparing the pond. I'll get started on that if it ever stops raining. :)

Cedar Trim

Image
The trim hangs about 1 1/2" over the water and about 1/2" above it. I installed it over the weekend. I cut 1/4" thick plastic washers to go under the 2x6 cedar trim. This will let the water from the pond run under the boards if the level gets to high and help prevent rot. Then, I counter-sunk 4" lag bolts through the boards and plugged them with hot glue and dowels. I'll sand and stain the boards and dowels soon. It's supposed to warm up in the next few days! Then on to the skimmer.

The Bridge 2.0

Image
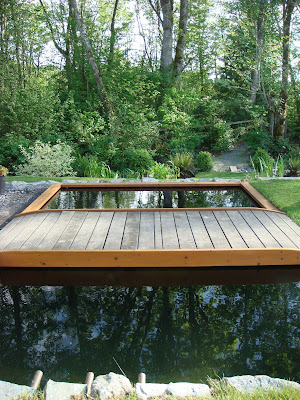
Pond Bridge The bridge is back in black. I like this version a lot better. It sits nicely about 1cm off the water with very little deflection in the middle, even with 3 adults standing on it. The reflection of the trees in the water is nice too. There are four slats to the left that are hinged. The skimmer will hide under there and the bridge section opens up to empty the basket. Once the skimmer is built that is. Pics of that to follow. Here's the pump and filter circuit. This week I tackle the skimmer and waterfall!